How to replace LG Google Nexus 4 battery? [Step by step guide]
This guide shows how to replace LG Google Nexus 4 battery to better access the internal features of the phone and prevent any minor shocking. This will take a couple minutes.
Step 1: Remove the SIM tray of LG Google Nexus 4 using the SIM card eject tool. The SIM tray with the SIM card needs to be removed to remove the back case of Nexus 4.


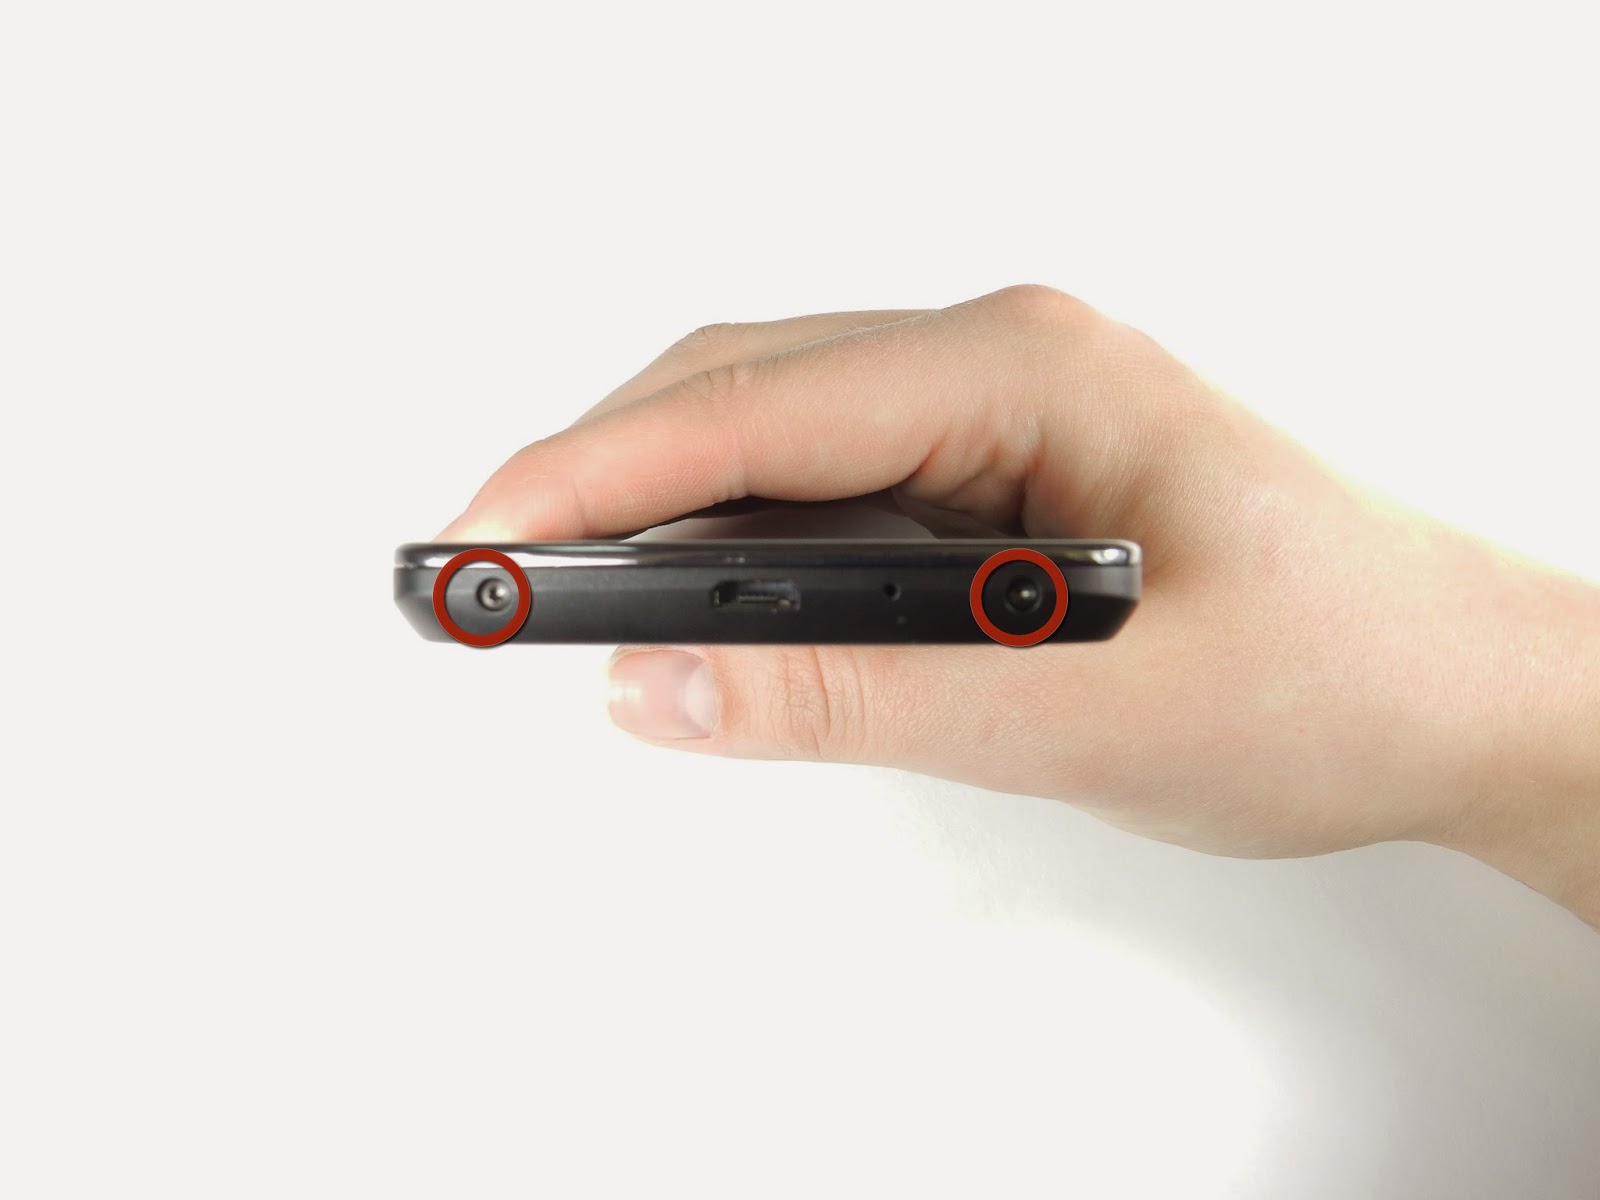
Step 2: Remove the two screws from the bottom of the phone (LG Google Nexus 4) with a T5 Torx Screwdriver.
Step 3: Gently open the back case of LG Google Nexus 4 battery by prying along the edge of the cover, starting at a corner of the phone and circling around the phone using a plastic opening tool. This can take a few minutes.
Notice: that as you are opening LG Google Nexus 4 battery back case, the plastic will make a light snapping noise as the back cover separates from the rest of the phone (Nexus 4).


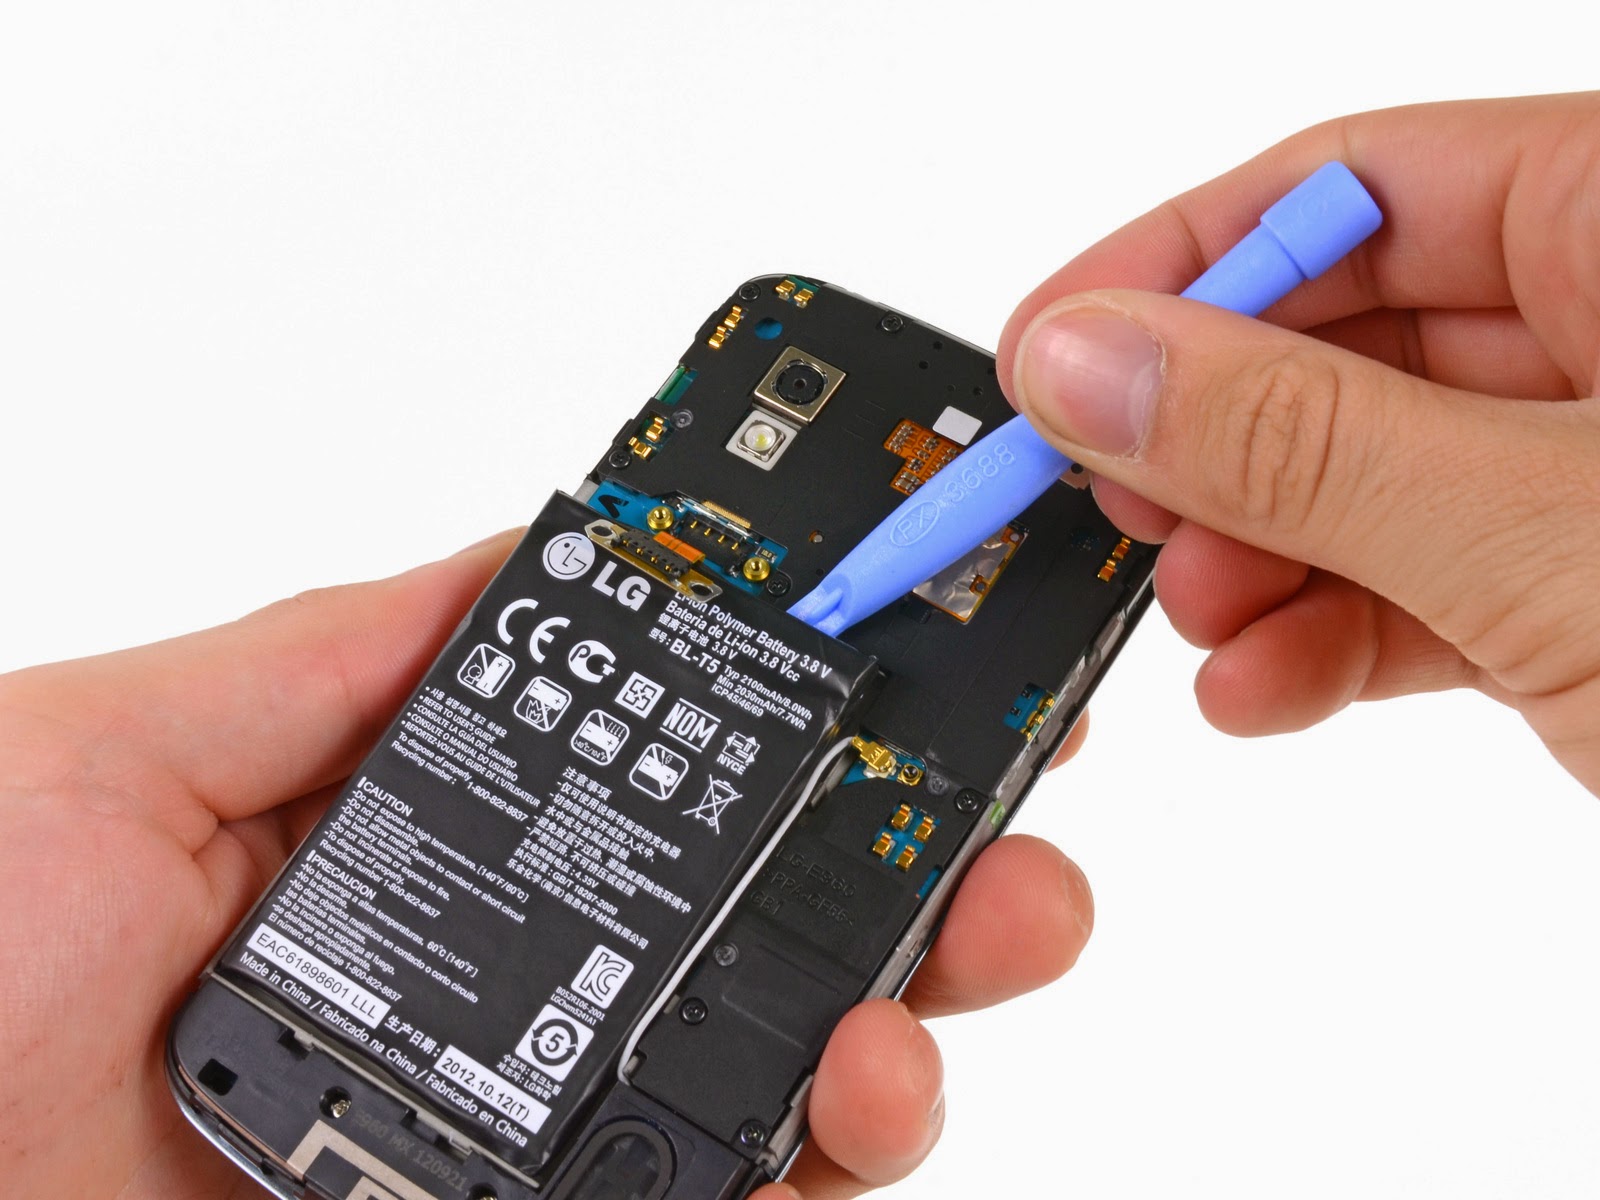
Step 4: At the top of the LG Google Nexus 4 battery, remove the two 1.8mm screws in the metal band with the Phillips #00 Screwdriver. Gently lift out the metal band once liberated from the screws using a Plastic Opening Tools.


Step 5: Pry the LG Google Nexus 4 battery out carefully with a Plastic Opening Tools, starting at the top left-hand corner and working down towards the bottom right-hand corner. The LG Google Nexus 4 battery is securely glued to the phone, this may take a bit of time.